
Use one card or page
Fill the frame with a single recipe. Remove other notes, packaging, and patterned backgrounds.
Handwritten recipe scanner
Photograph a handwritten family recipe with your iPhone, let on-device text recognition read what it can, then correct the text and review the structured recipe before saving.
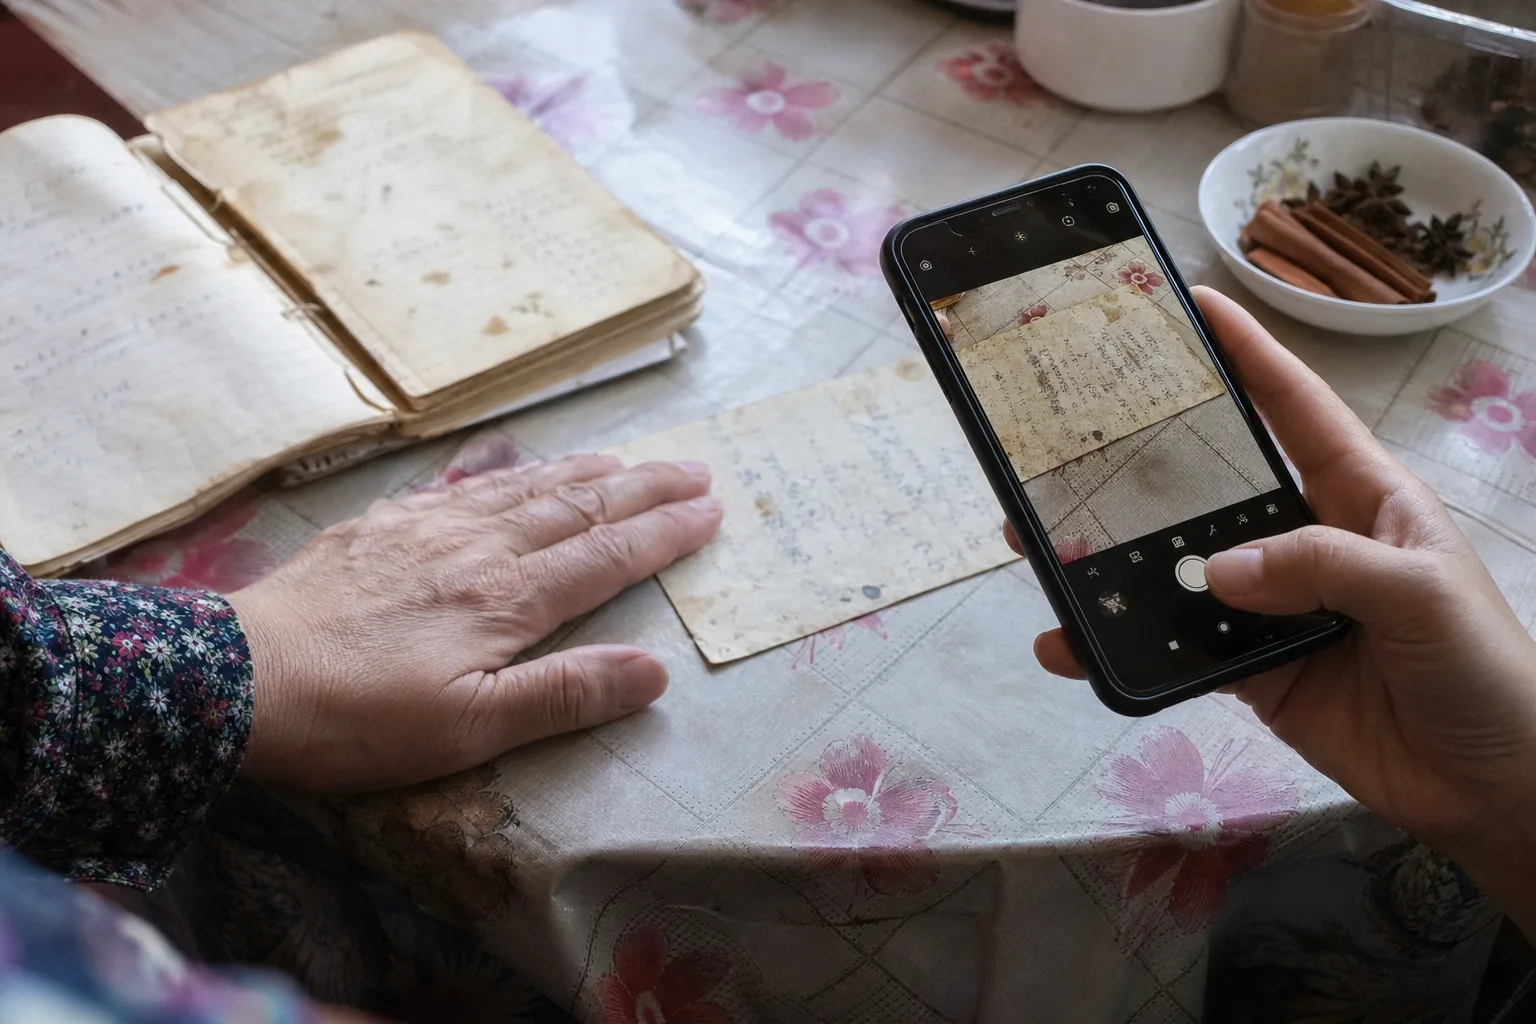
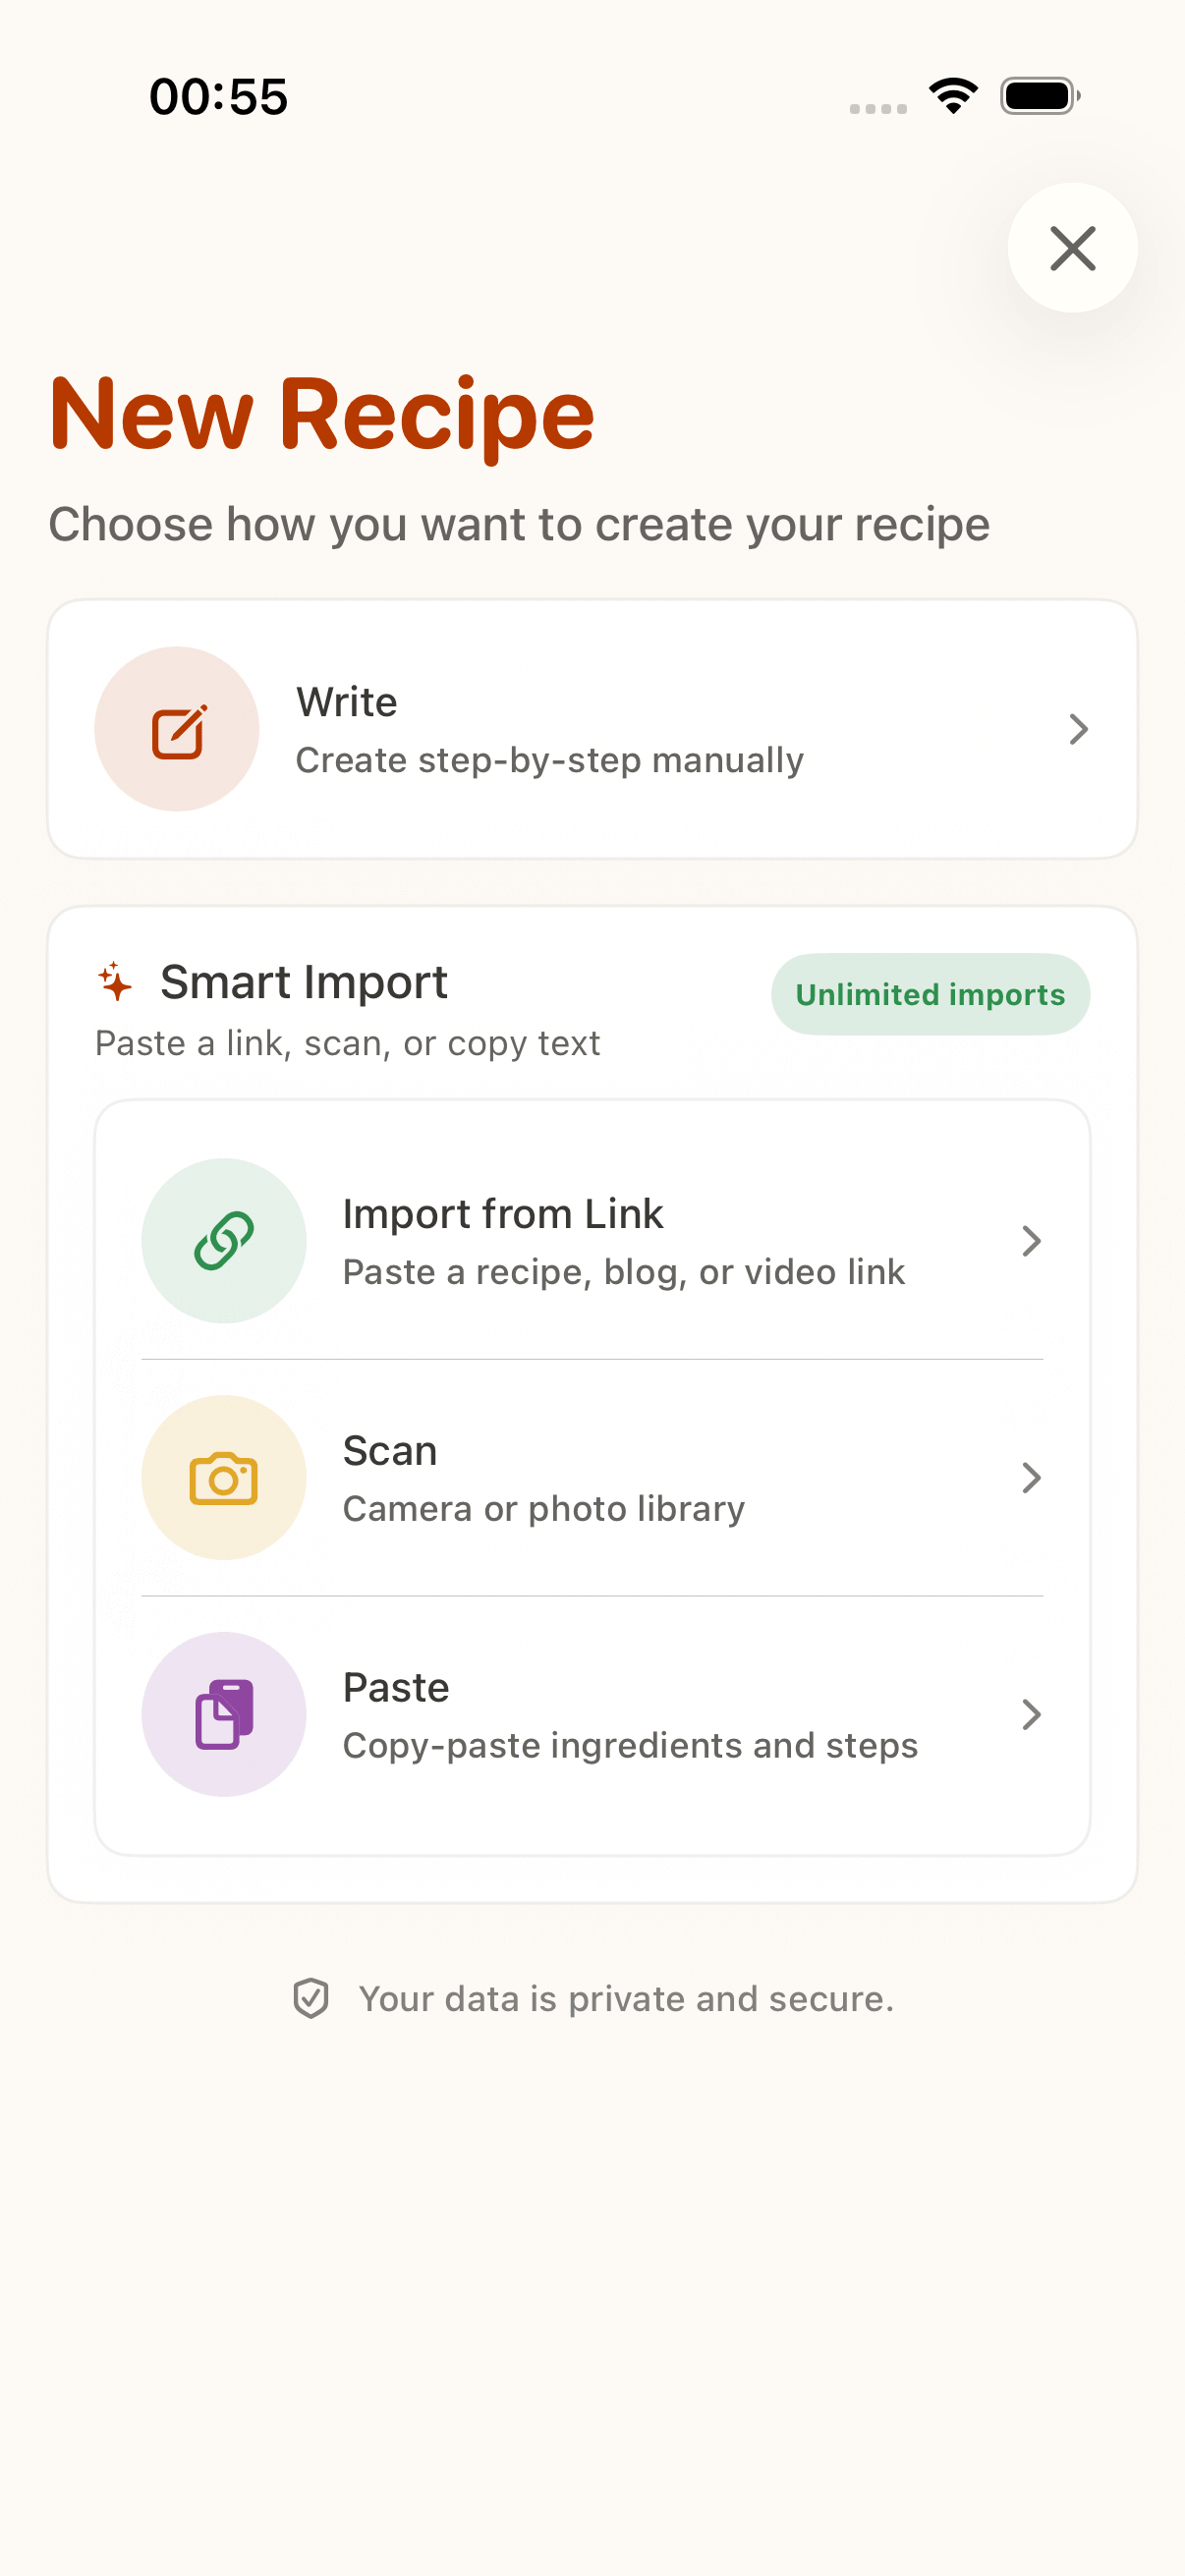
Camera or photo library · Editable recognized text · Reviewable recipe draft
Before you scan
Handwriting recognition starts with the image. Spend ten seconds improving the photo and you may save several minutes of corrections.
Fill the frame with a single recipe. Remove other notes, packaging, and patterned backgrounds.
Shoot straight down, include every edge, and smooth folds that distort ingredient lines.
Avoid flash glare, phone shadows, yellow low light, and blur from holding the camera too close.
Real example
The card says “a teacup of sugar,” includes a crossed-out baking time, and has “use less if berries are sweet” in the margin. Scan the card, correct OCR mistakes, choose the baking time your family actually uses, and keep the margin note in the recipe notes. Put the finished recipe in a Family collection and keep the physical card safe.
CookClip can structure the words it reads, but it cannot verify that an old recipe is complete, safe, or calibrated for modern equipment. Preserve uncertainty in the notes and test the recipe yourself.
Check 1/2 versus 1/4, especially when the slash or numerator is faint.
Confirm tsp, tbsp, oz, g, cups, and family-specific shorthand before saving.
Look for missing degree marks, oven units, and temperatures written in margins.
Make sure arrows, insertions, and notes on the back of the card were not lost.
Exact workflow
In New Recipe, open Smart Import and choose Scan, then use the camera or an existing photo.
Confirm the recipe is readable and complete. Choose another photo if text is blurred, cropped, or shadowed.
If recognition is unclear or you are offline, edit the extracted text before sending it for recipe structuring.
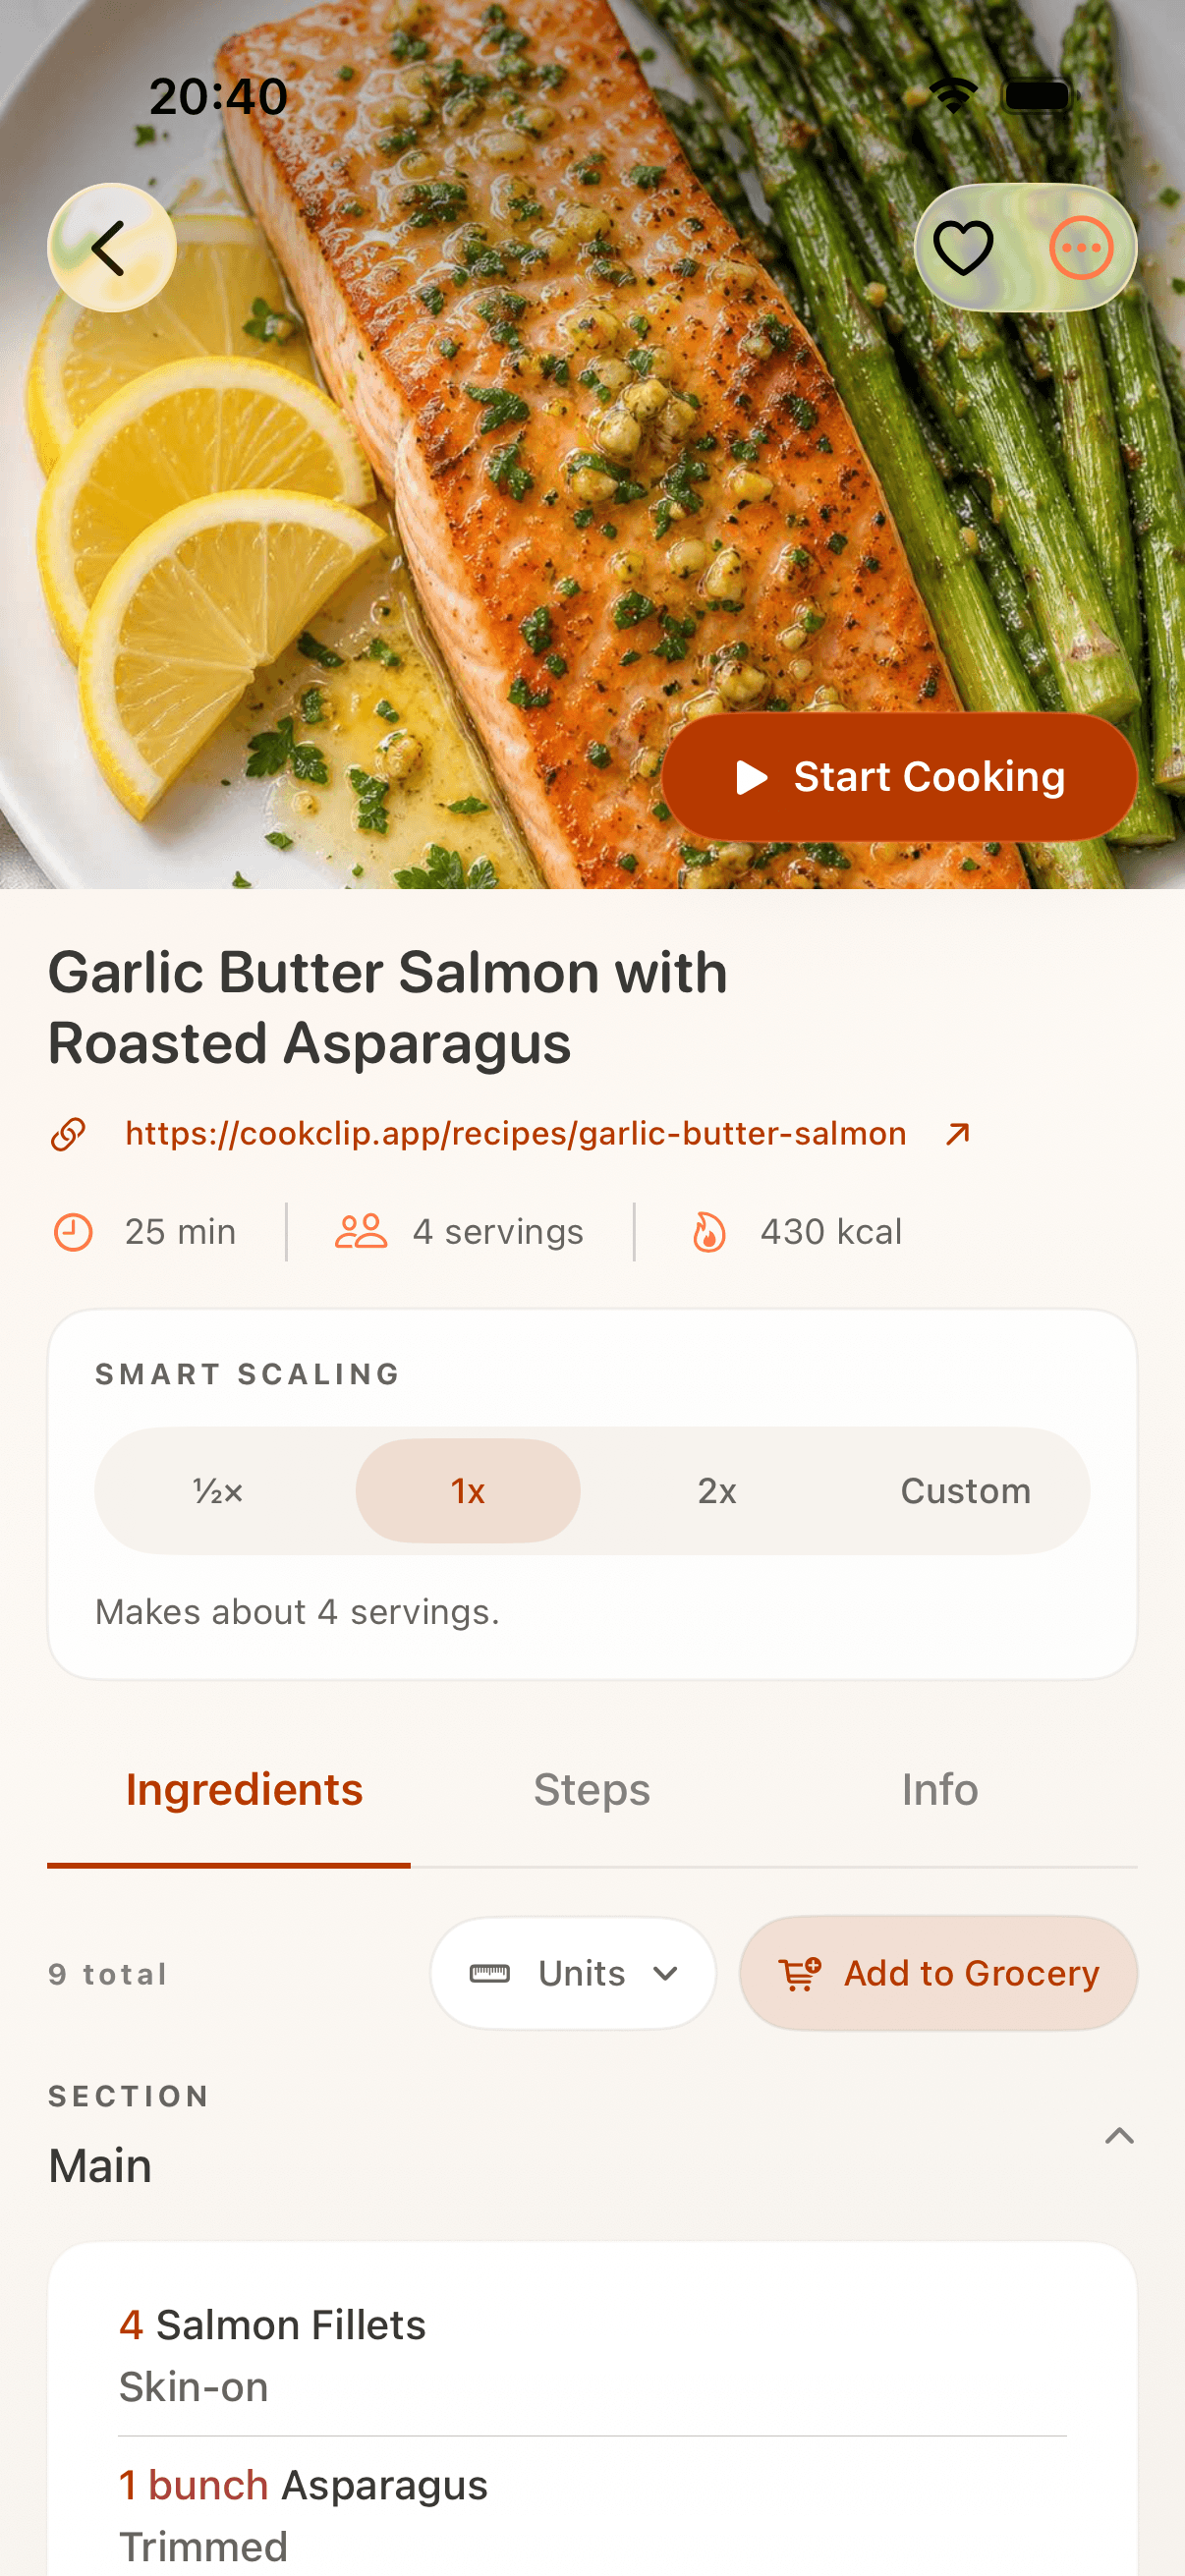
Compare the ingredients and steps with the physical card, then save only after the important details match.
After the photo
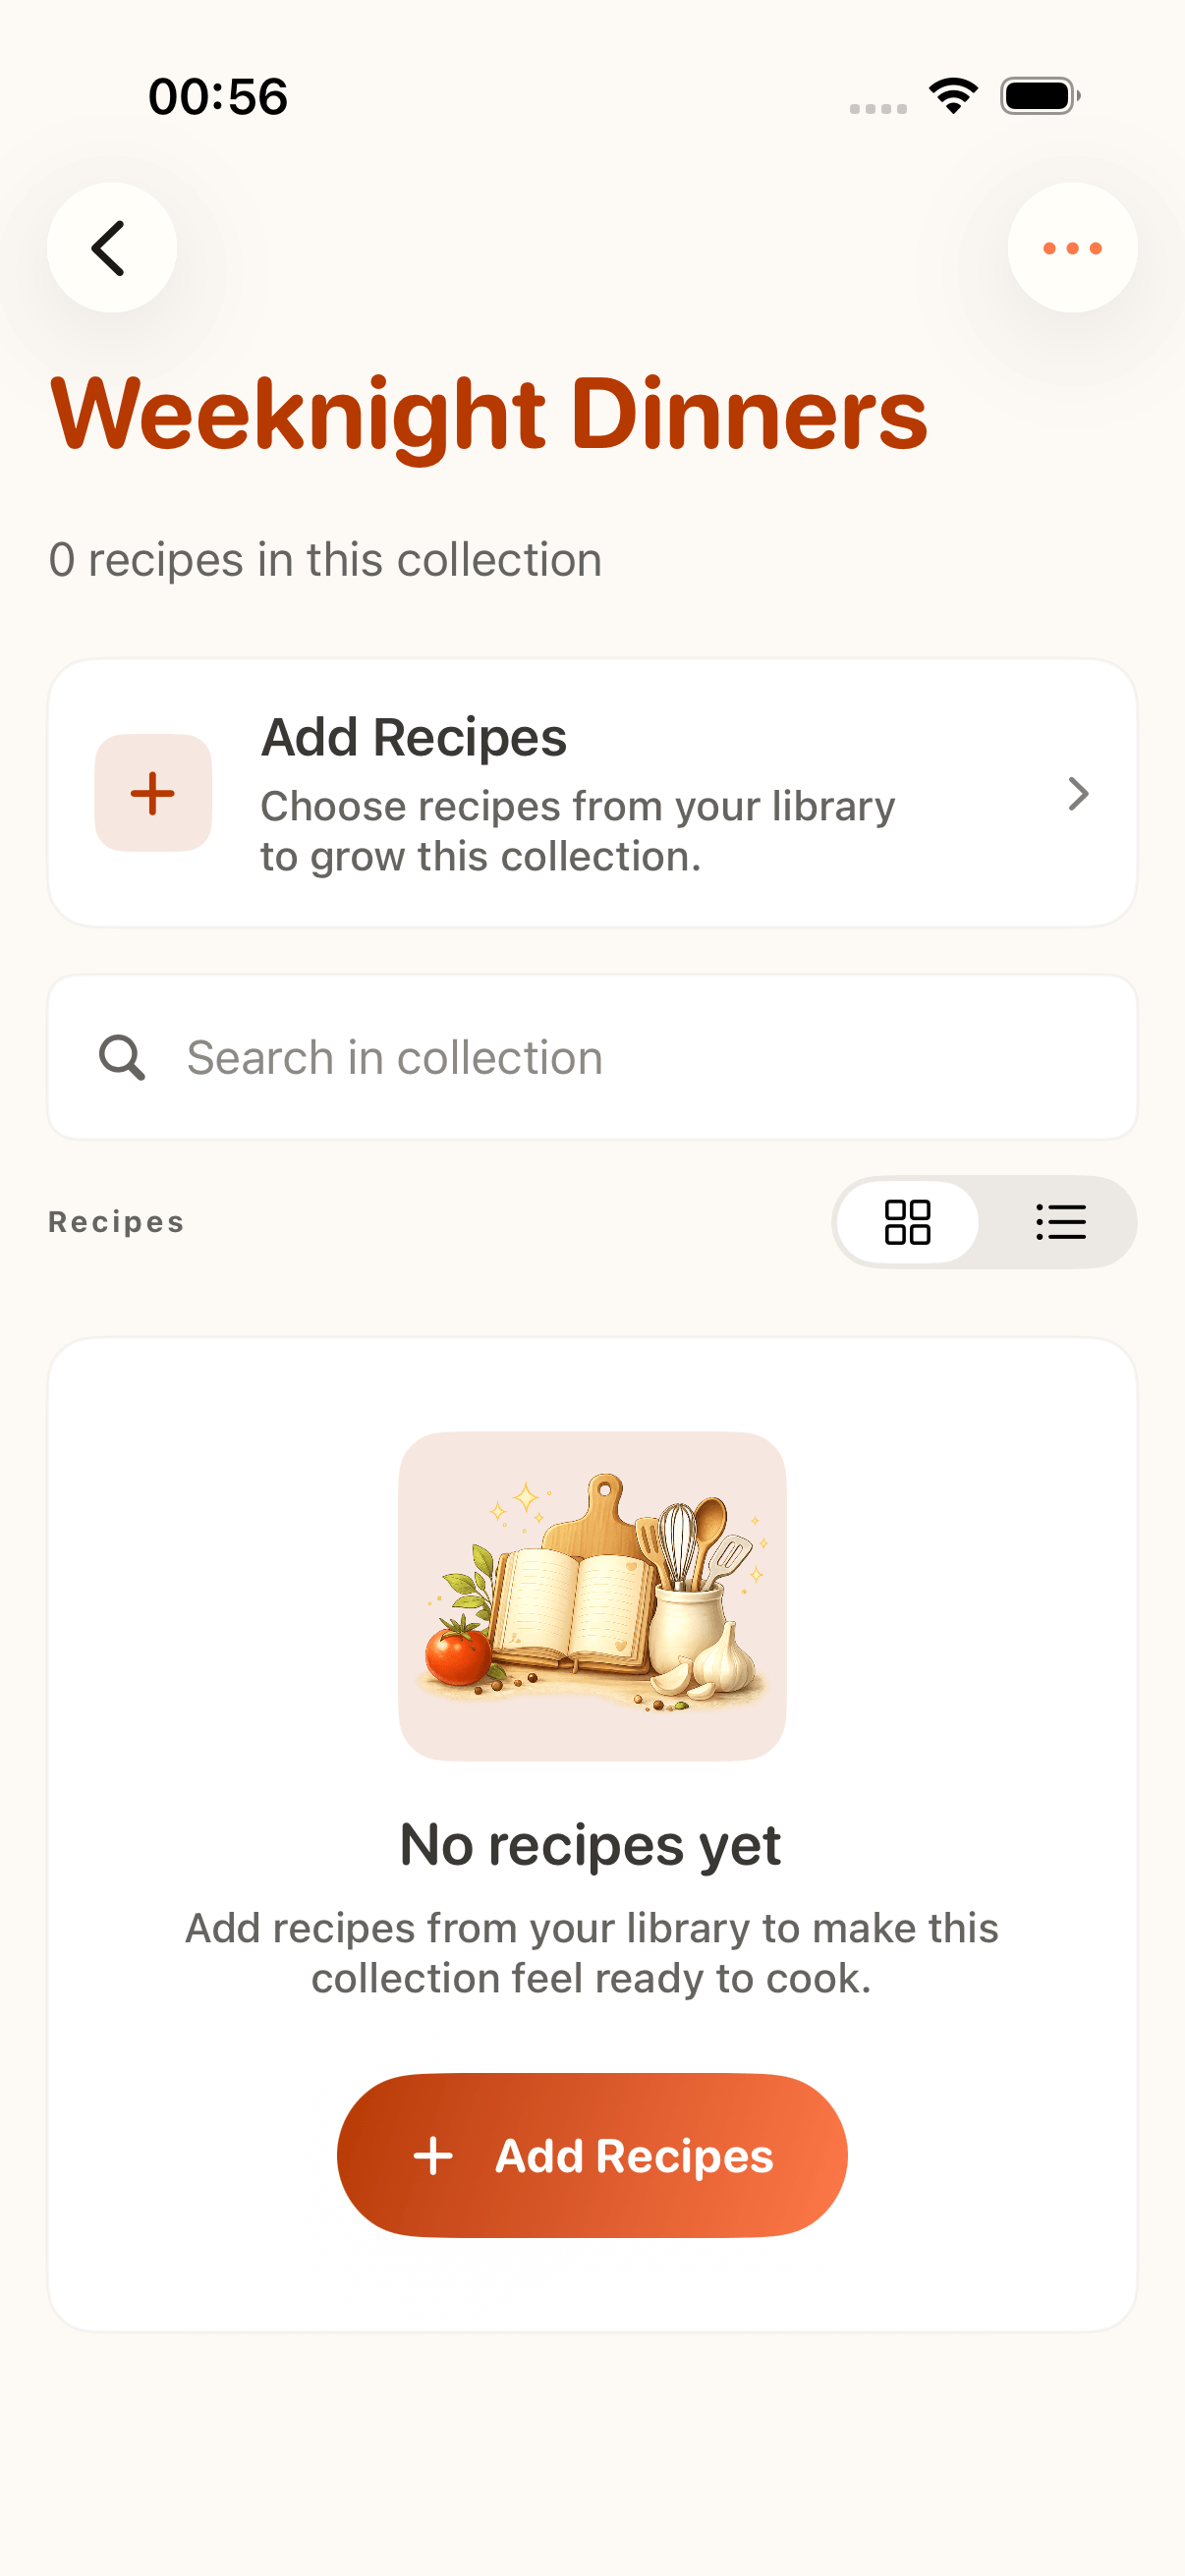
Scanning is only the first stage. The useful outcome is an accurate recipe you can search and cook from.
FAQ
No. Clear block writing works better than faint, cramped, crossed-out, or highly cursive text. Always compare the result with the original card.
The camera or photo picker and on-device text recognition can work offline. An internet connection is required for Smart Import to structure the extracted text into a recipe draft.
Check fractions, unit abbreviations, temperatures, ingredient lines, step order, timing, and any notes written in the margins.
No. Keep the physical card or an archival photo. A digital recipe is easier to use and back up, but it should not be your only copy of an irreplaceable family artifact.
Start with one card
Take a careful photo, verify the transcription, and keep both the story and the useful cooking details.